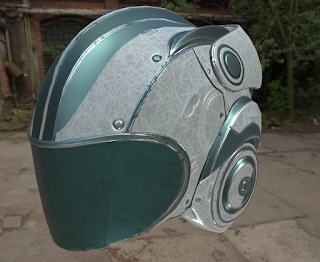
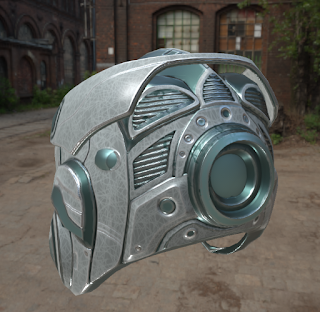
Pretty cool stuff... I'm sure I'll have a clearer idea of how to take advantage of the process as we move on. Fore now I was able to apply noise textures, play with metallic/roughness, colors, and set in some edge wear.
I got a little confused in terms of figuring how to apply a texture and color to just the visor. But I found the solution after figuring out how the blend nodes work. So I now have a clear understanding.
The following image features the default version of the helmet without a color change, and a slightly darker visor instead. I don't know which one is better really, since there isn't as much contrast as I would like. But I just wanted to play with the nodes and understand how they work.
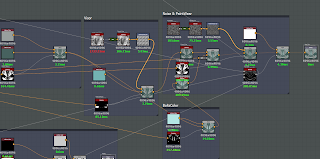
Earlier node setup:
Here is where my confusion had been. See the spare little uniform color I placed? Connecting it was confusing, because I couldn't figure where the blend node needed to draw from and connect to:
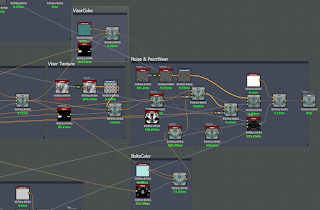
I added a frame for the Visor Color--I figured out what went where. But I still feel that my nodes are a bit messy.


No comments:
Post a Comment